How to Save a "Zoomed-in" View in Image-Pro Premier

When analyzing larger images, you often want to share only a part of that image with colleagues, or for publication. Rather than having to take screenshots and crop the image down, Image-Pro Premier includes an easy, one-click way to save a zoomed view of your image, with all measurements and annotations burned in.
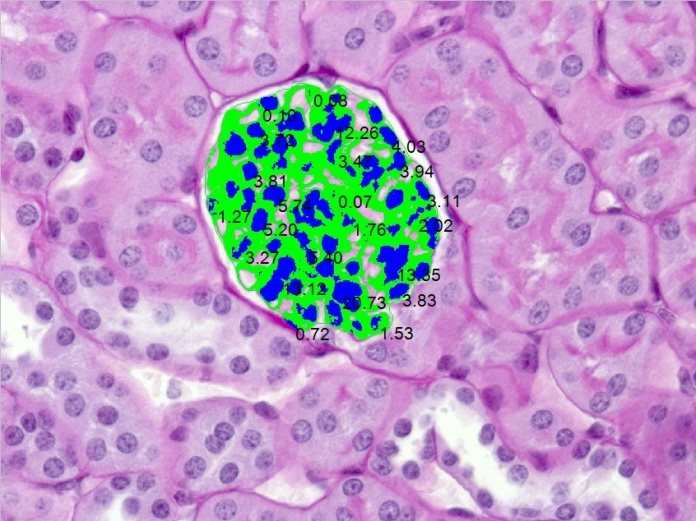
Original image
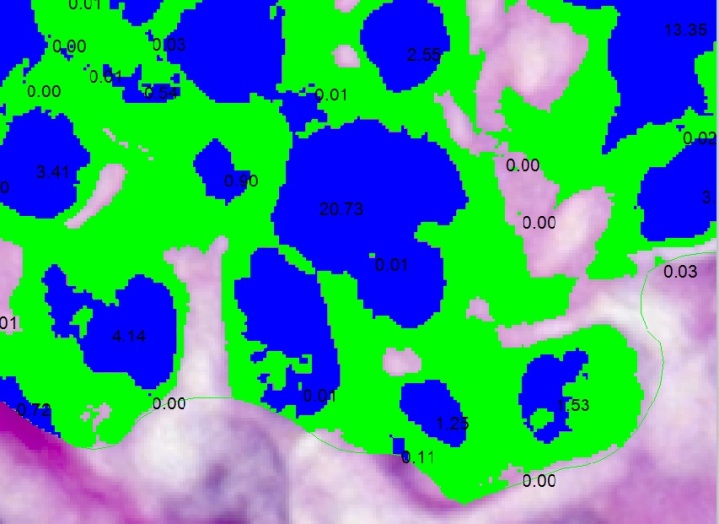
Zoomed-in view saved as a new image.
- Go to the Share tab

- Zoom in on the area of interest you wish to feature in your new image.
- Select the “View” button in the Export group
- A new image of the zoomed in view will automatically be created with all measurements and annotations burned in. Save your image to use for publication. The original image, with active measurement overlays will remain unchanged.
Original image
Zoomed-in view saved as a new image.
0
Categories
- All Categories
- 959 Image-Pro v9 and higher
- 9 Image-Pro FAQs
- 18 Image-Pro Download & Install
- 444 Image-Pro General Discussions
- 488 Image-Pro Automation (Macros, Apps, Reports)
- 20 AutoQuant Deconvolution
- 2 AutoQuant Download & Install
- 18 AutoQuant General Discussions
- 193 Image-Pro Plus v7 and lower
- 3 Image-Pro Plus Download & Install
- 105 Image-Pro Plus General Discussions
- 85 Image-Pro Plus Automation with Macros
- 35 Legacy Products
- 15 Image-Pro Premier 3D General Discussions
- 20 Image-Pro Insight General Discussions